Understanding how to close your pool is a crucial task that ensures the longevity of your pool equipment and maintains the quality of your pool water. As the colder months approach, it’s essential to understand the importance of closing your pool correctly and the potential consequences of neglecting this task. This guide will provide a step-by-step process to ensure your pool remains in top condition throughout the off-season.
Why Close Your Pool?
Closing your in-ground pool for winter months is not just a routine task; it’s a preventive measure to protect your investment. When done correctly, it:
Prevents Algae Growth
Properly balanced and treated water will deter algae growth, ensuring a clean pool for the next season.
Protects Equipment
Winterizing your pool equipment, like the pump, filter, and heater, can prevent damage from freezing temperatures.
Saves Time and Money
A well-maintained pool during the off-season means less work and fewer repairs when it’s time to open again.
Determining the Right Time to Close Your Pool
The ideal time to close your pool largely depends on your local climate. Generally, when nighttime temperatures consistently drop below 60°F (15°C), it’s time to consider winterizing your pool. Keeping an eye on the local weather forecast can help you choose the perfect time, September or October at the latest, as fallen leaves can create quite a mess. Safety covers can close later in the season, even after Thanksgiving.
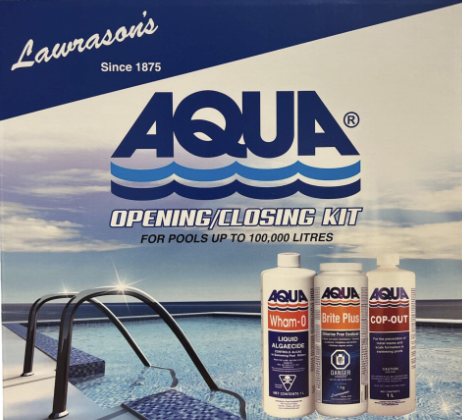
Supplies Needed for Closing a Pool
Before diving into the closing process, gather all necessary supplies. This includes:
- Winterizing Chemicals: These are essential to balance the pool’s water chemistry.
- Winter Pool Cover: Protects your pool from debris and harsh weather conditions.
- Water Bags: For securing the winter pool cover (if you own this type of cover).
- Submersible Pump: Useful for lowering the pool’s water level and removing excess water from atop the pool cover.
- Air Compressor or Shop Vac: For blowing out water from the lines.
- Swimming Pool Antifreeze: Protects the pipes from freezing.
- Skimmer Gizzmos and Plugs: Essential for winterizing the skimmer and return lines.
- Pool Test Kit: To ensure balanced water chemistry.
Step-by-Step Guide to Close Your Pool
1. Skim and Vacuum the Pool
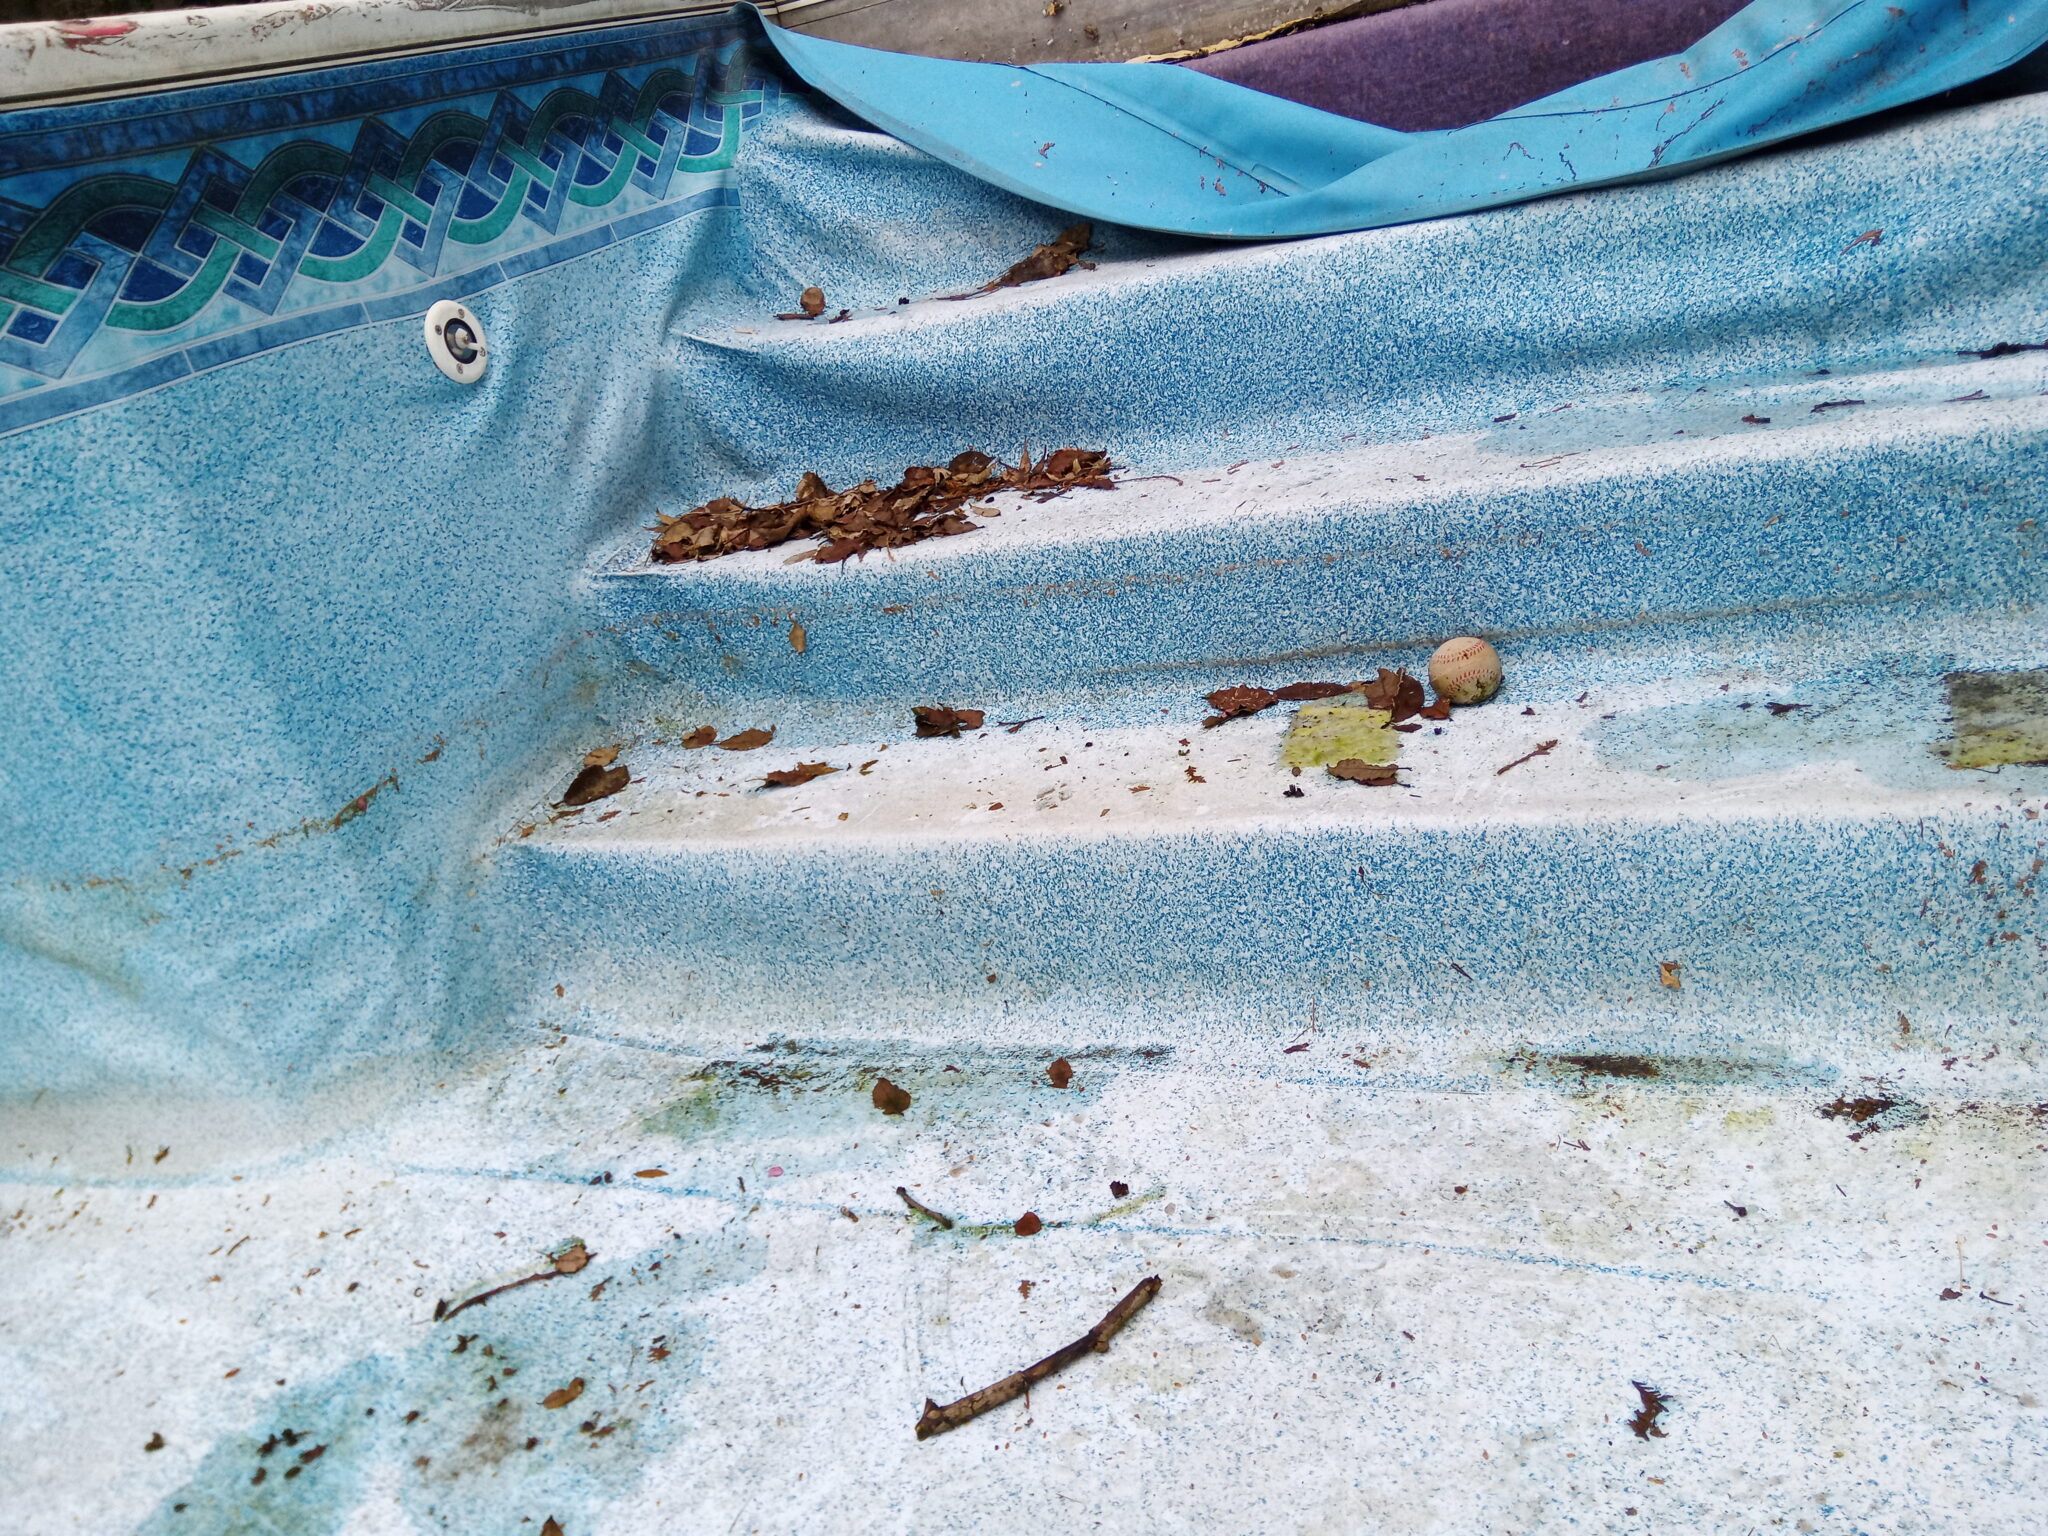
Begin by removing any leaves, debris, and dirt from the pool. Use a skimmer to collect floating debris and a pool vacuum for the bottom. Ensuring the pool is clean of organic materials will prevent potential algae growth and staining.
2. Empty All Baskets
Empty the skimmer basket and pump basket. Cleaning these components will prevent debris from getting clogged in your pipes or making a mess in the pool after you have just cleaned it during the blowing-out process.
3. Lower Water Level to Correct Height
Using a submersible pump, lower the pool’s water level. The correct height depends on the type of winter cover you have:
- Solid Cover: Lower the water 2-4 inches below the skimmer.
- Mesh Cover: Lower the water 12 inches below the top of the deck.
4. Put Winter Close Chemicals In
Test the swimming pool water using a pool test kit. Adjust the pH, calcium hardness, and chlorine levels as needed. Once balanced, add winterizing chemicals, including a winter algaecide and chlorine or non-chlorine shock, and metal sequestrant. These chemicals protect the pool from algae and bacteria growth during the off-season.
5. Winterize All Pool Equipment
- Pool Pump and Filter: Drain all water and remove drain plugs. If possible, store the pump indoors.
- Heater: Remove all water and turn off the gas line if applicable.
- Chlorinator: Empty and wash it out.
- Pool Accessories: Remove ladders, diving boards, and other removable equipment.
6. Remove All Water from Pipes Underground
Blow out the water from the pool’s plumbing lines using an air compressor or shop vac. This prevents the water from freezing and damaging the pipes. After blowing out the water, add pool antifreeze to further protect the lines. Install the winter plugs as air is blowing through the lines, as this ensures a good seal and that water does not have the chance to return into the pipe.
7. Check Winter Cover for Damage
Inspect your winter pool cover for any signs of wear or damage. Repair minor tears with a patch kit, or consider replacing the cover if it’s extensively damaged.
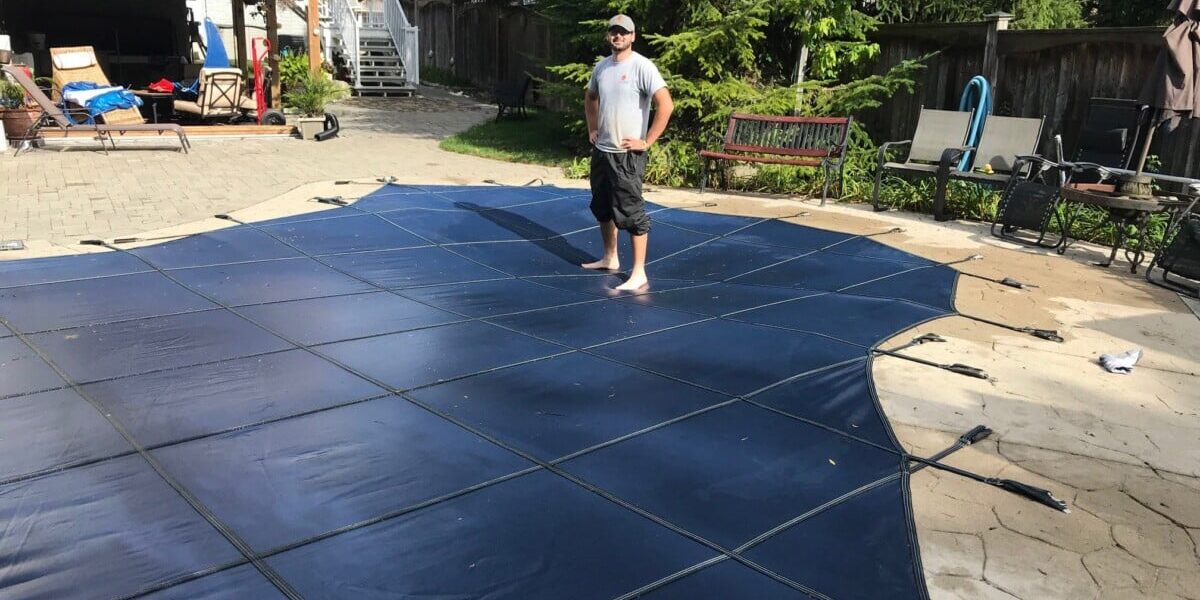
8. Install Winter Cover
Place the winter cover over the pool, ensuring it fits snugly. Secure it using water bags or other weights. Make sure there are no gaps where debris can enter, and you will need to ensure the correct fitment for different types. Lock-in covers can’t have any creases, while water bag tarps need to have about one inch of water on top so as not to parachute and potentially blow away. All water bags must be touching each other around the entire pool Safety covers must be tight, as they tend to slack year to year, and the springs will need to be adjusted.
9. Water Level Maintenance Over the Winter
Monitor the water level throughout the winter. Use a submersible pump to remove excess water if you have a solid cover. Ensure the water doesn’t rise above the recommended level for mesh covers. Lock-in and water bag tarps need to keep water on top of the cover to about 2-4 inches. Safety covers should be peeled back and water kept at least two inches away from the liner bead receiver.
Common Mistakes to Avoid When Closing Your Pool
Closing a pool might seem straightforward, but there are pitfalls that can lead to costly repairs or a messy reopening. Here are some common mistakes to avoid:
- Rushing the Process: Closing a pool isn’t something you should rush. Ensure you’ve set aside enough time to complete each step thoroughly.
- Neglecting Water Chemistry: Even during the off-season, water chemistry is crucial. Failing to balance your pool’s water can lead to algae growth and potential damage to the pool’s walls and liner.
- Using Old or Expired Chemicals: Always check the expiration dates on your chemicals. Using old or expired chemicals can be ineffective and might not protect your pool as intended.
- Ignoring the Pool After Closing: Once your pool is closed, it’s essential to check on it periodically. Ensure the cover is secure, and the water level is maintained.
Deciding Between DIY and Hiring a Professional
While many pool owners opt for a DIY approach, hiring a professional can ensure the job is done correctly and thoroughly. Consider your comfort level with the process, the size of your pool, and the time you can dedicate to the task.
Coastal Pools is your choice for professional pool closing. We offer debris removal, water level adjustment, chemical treatment, and equipment winterization. Contact us today to book your pool closing.
Ensuring a Safe and Secure Pool Winter
Closing your pool and winterizing it for the coming months is an essential maintenance task that protects your investment and ensures a smooth opening in the spring. Following this comprehensive guide will enable you to confidently tackle the process.